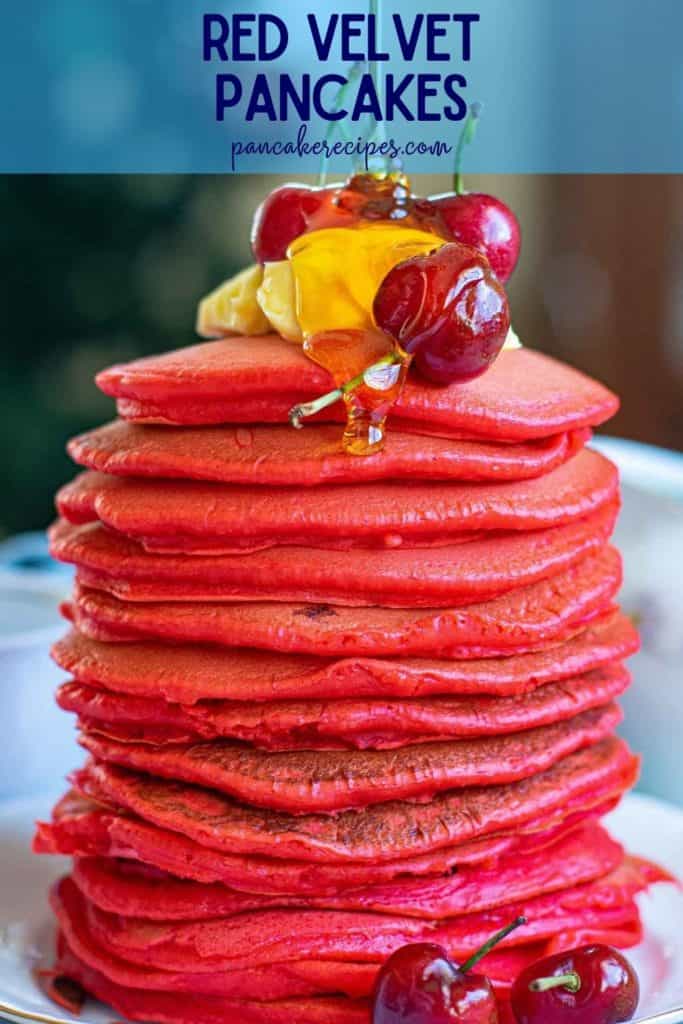
Red Velvet Pancakes
These easy red velvet pancakes are so fluffy and delicious, you’ll want to enjoy them every morning.
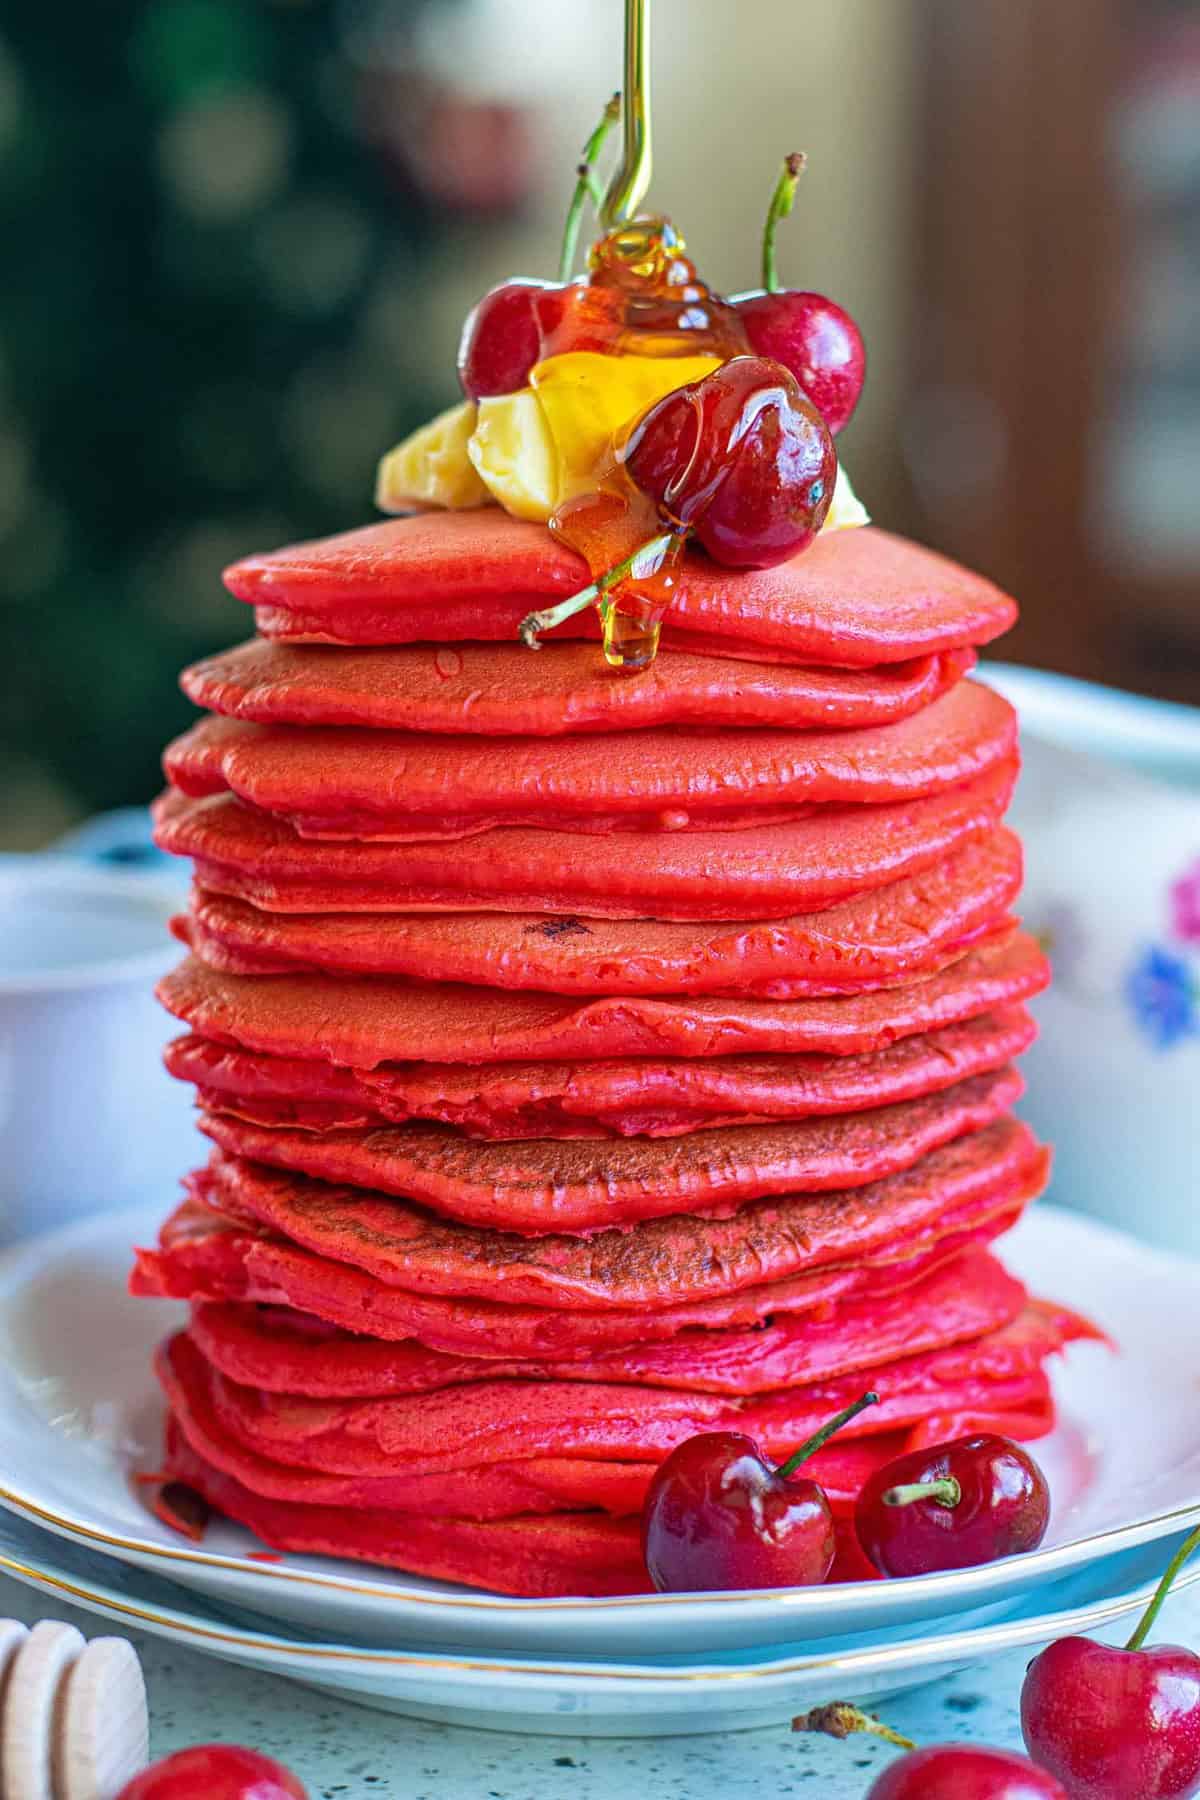
Perfectly fluffy and festive, red velvet pancakes look luxurious but are so easy to make. With plenty of flavor in every tender bite, these pancakes will top all the lists this holiday season.
If you are looking for a fun way to add a touch of magic to breakfast, give these beautiful pancakes a try. Everybody will be glad you did!
About these red velvet pancakes
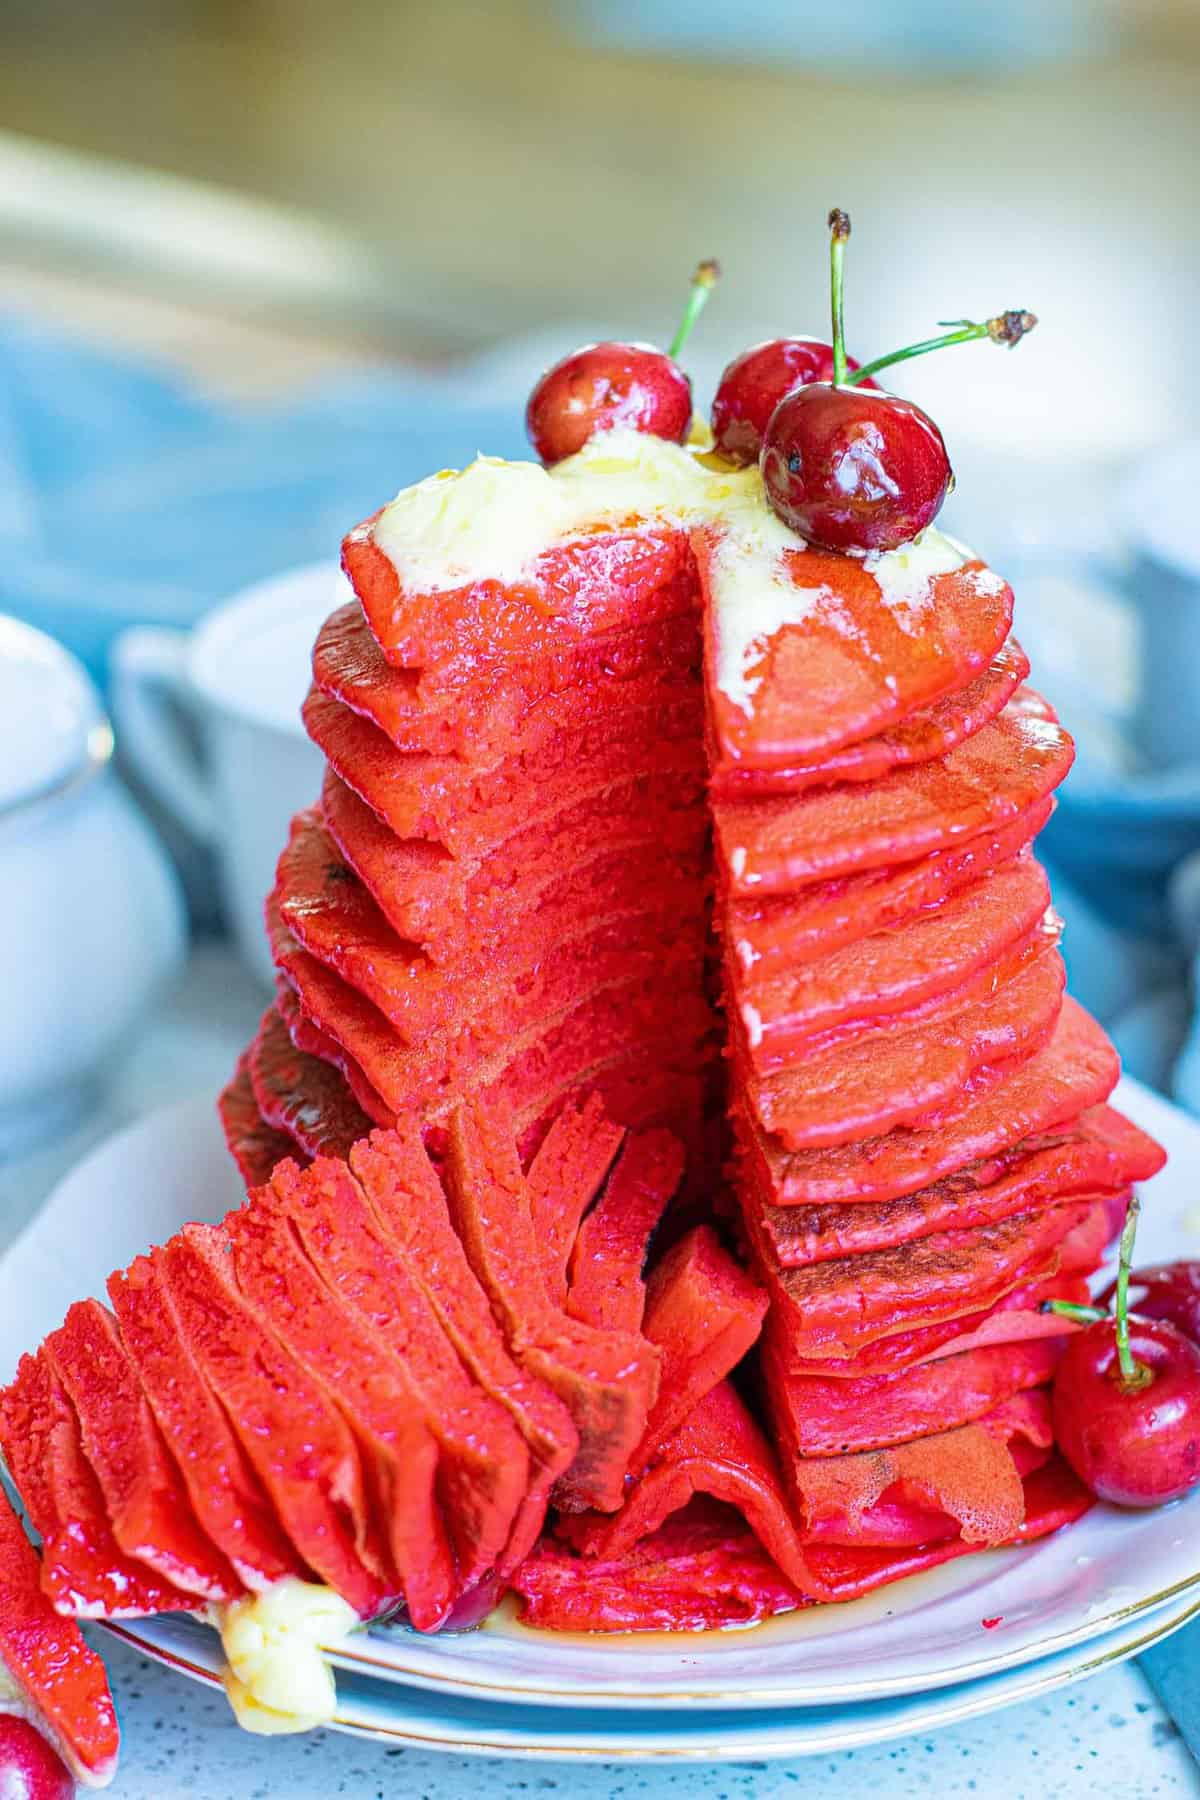
- Rich and tender: Red velvet desserts are known for being creamy and smooth. These red velvet pancakes are no exception! Made with real butter and whole milk, these mile-high pancakes come out extra-tender every time.
- Statement breakfast: Red velvet dishes typically get their color from a touch of food coloring or gel, making them a statement dish during the holiday season, near Valentine’s Day, or any day you want a little something extra. Topped with a butter cream frosting or cream cheese icing, these pancakes definitely take brunch to the next level.
- Perfect Saturday morning: You can also relax and enjoy these pancakes in comfort at home topped with your favorite maple syrup or honey. While these pancakes look so elegant and ready for company, they’re also just plain good shared with your family on a cold Saturday morning.
What you need
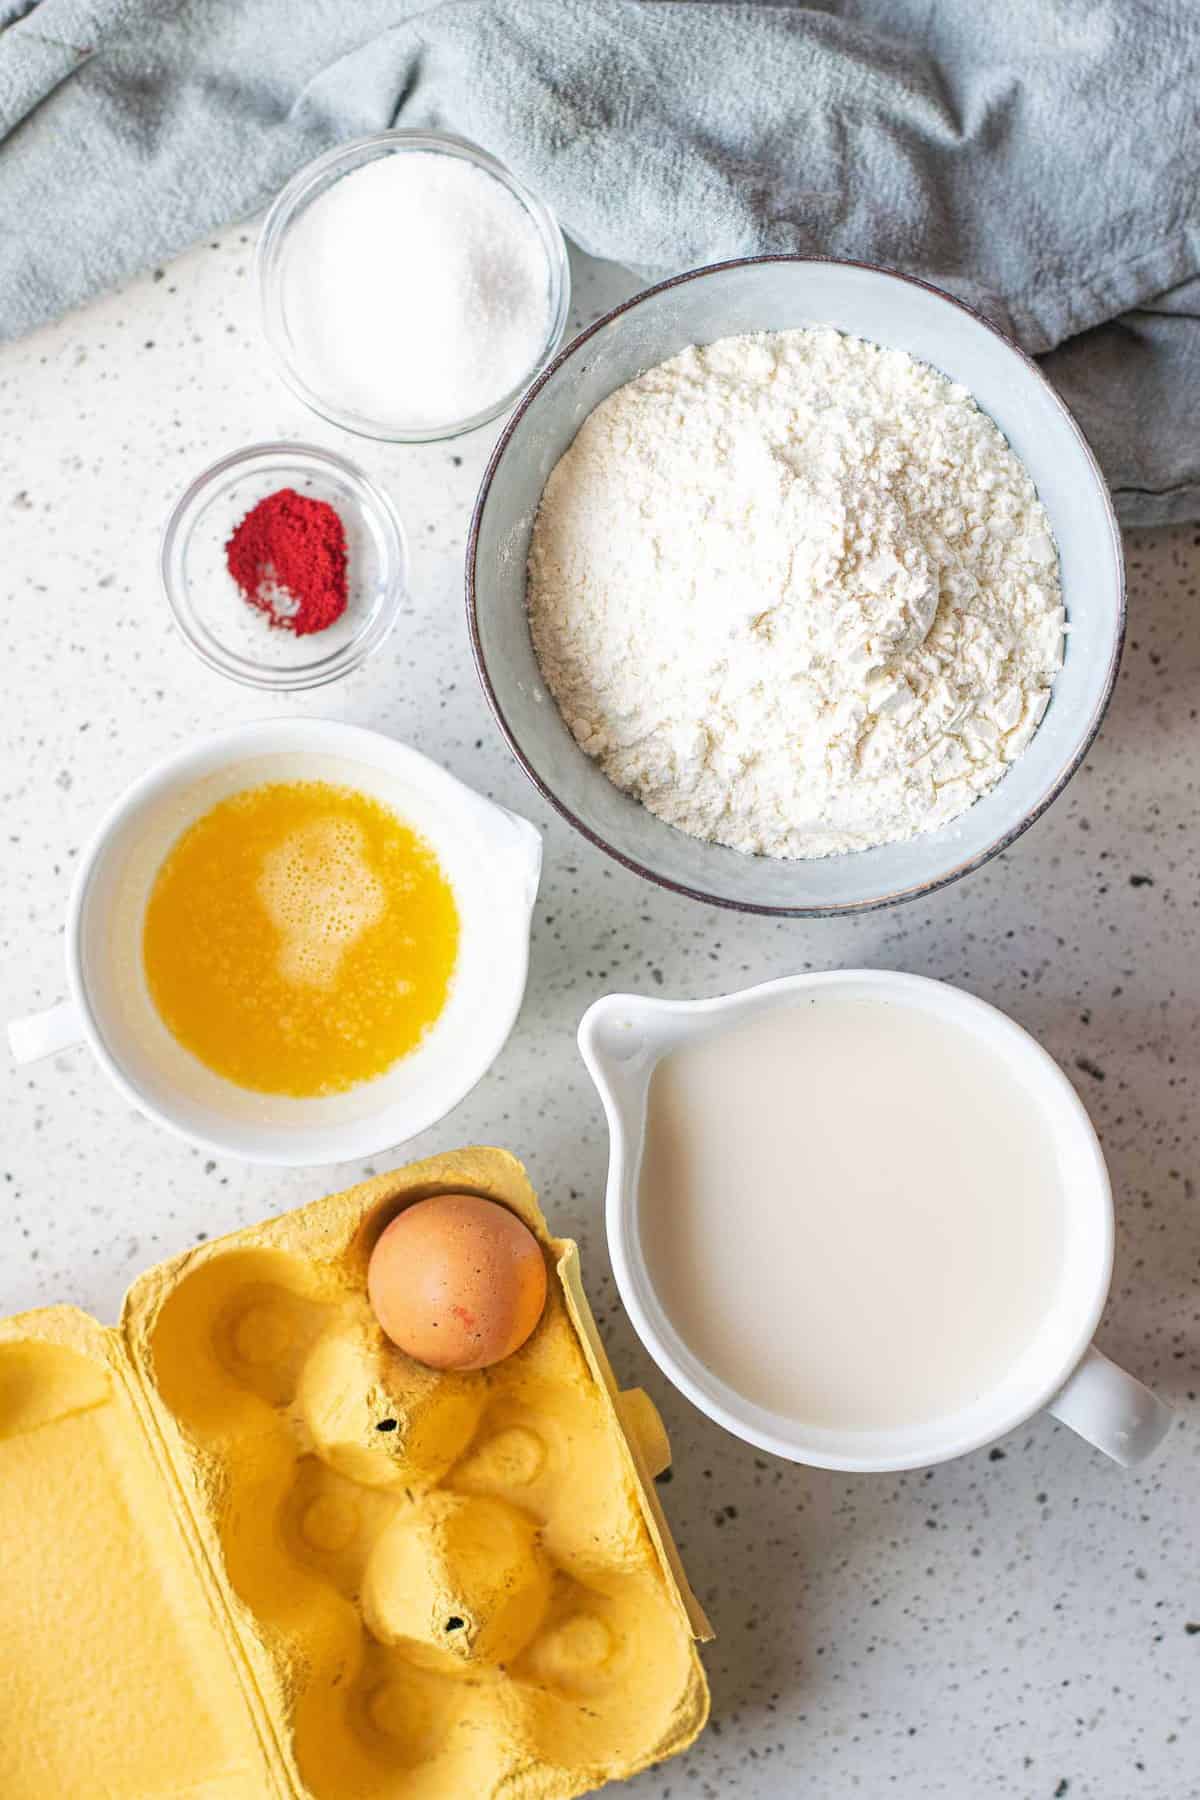
These are pretty straight-forward pancakes, with added red food coloring to give the their vibrant color. As always, scroll down to find measurements and a printable version of the recipe.
- Pancake Dry Ingredient Staples: You’ll need the usual suspects for this recipe, flour, granulated sugar, baking powder, baking soda, and salt
- Wet Ingredients: This recipe uses whole milk and melted butter and vanilla to make these rich and flavorful. Vanilla extract adds depth to the flavor, while an egg binds everything together and adds fluffiness.
- Red Food Coloring: The red in the red velvet! We always opt for a gel food coloring, but use what you like best. If you have a powdered food coloring, you’ll want to mix it in with the dry ingredients, but if you have a gel or liquid food dye, add it with the wet ingredients.
- Toppings: We thought outside the cream cheese frosting box with our toppings, but of course you could top these with anything you’d like! Try our cream cheese glaze if you want something more classic.
How to make red velvet pancakes
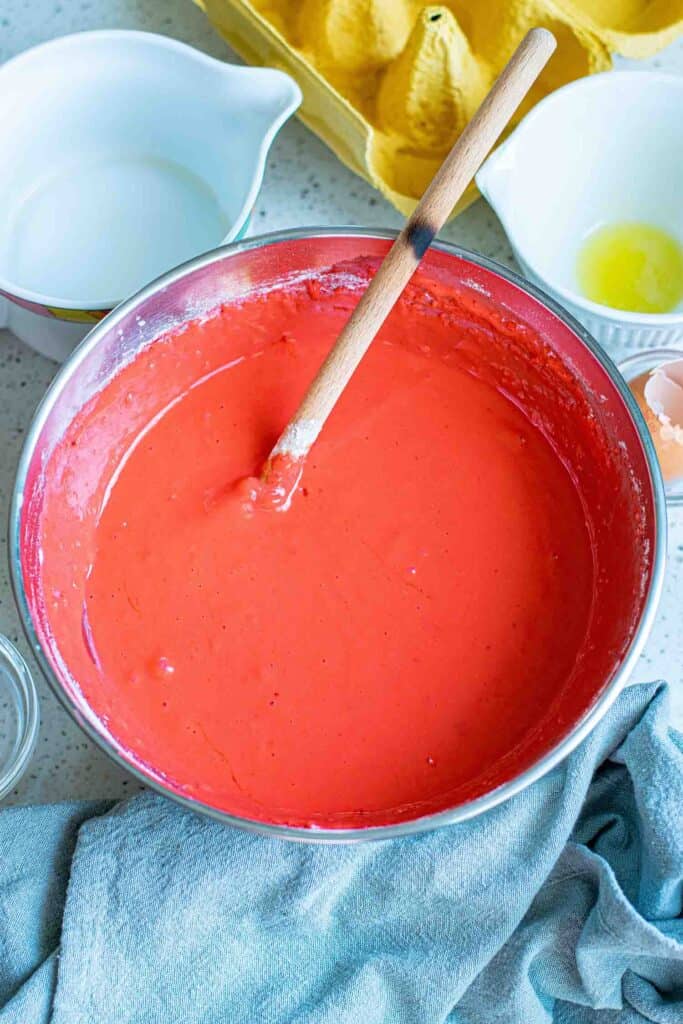
Combine flour, sugar, baking powder, baking soda, food dye (if using powder) and salt.
Make a well in the center and add milk, vanilla, egg, and food dye (if using liquid or gel). Set the batter aside for 10 minutes and let it rest.
Cook over medium heat until bubbles begin to appear on the surface and the other side is golden brown.
Flip and cook on the other side until golden.
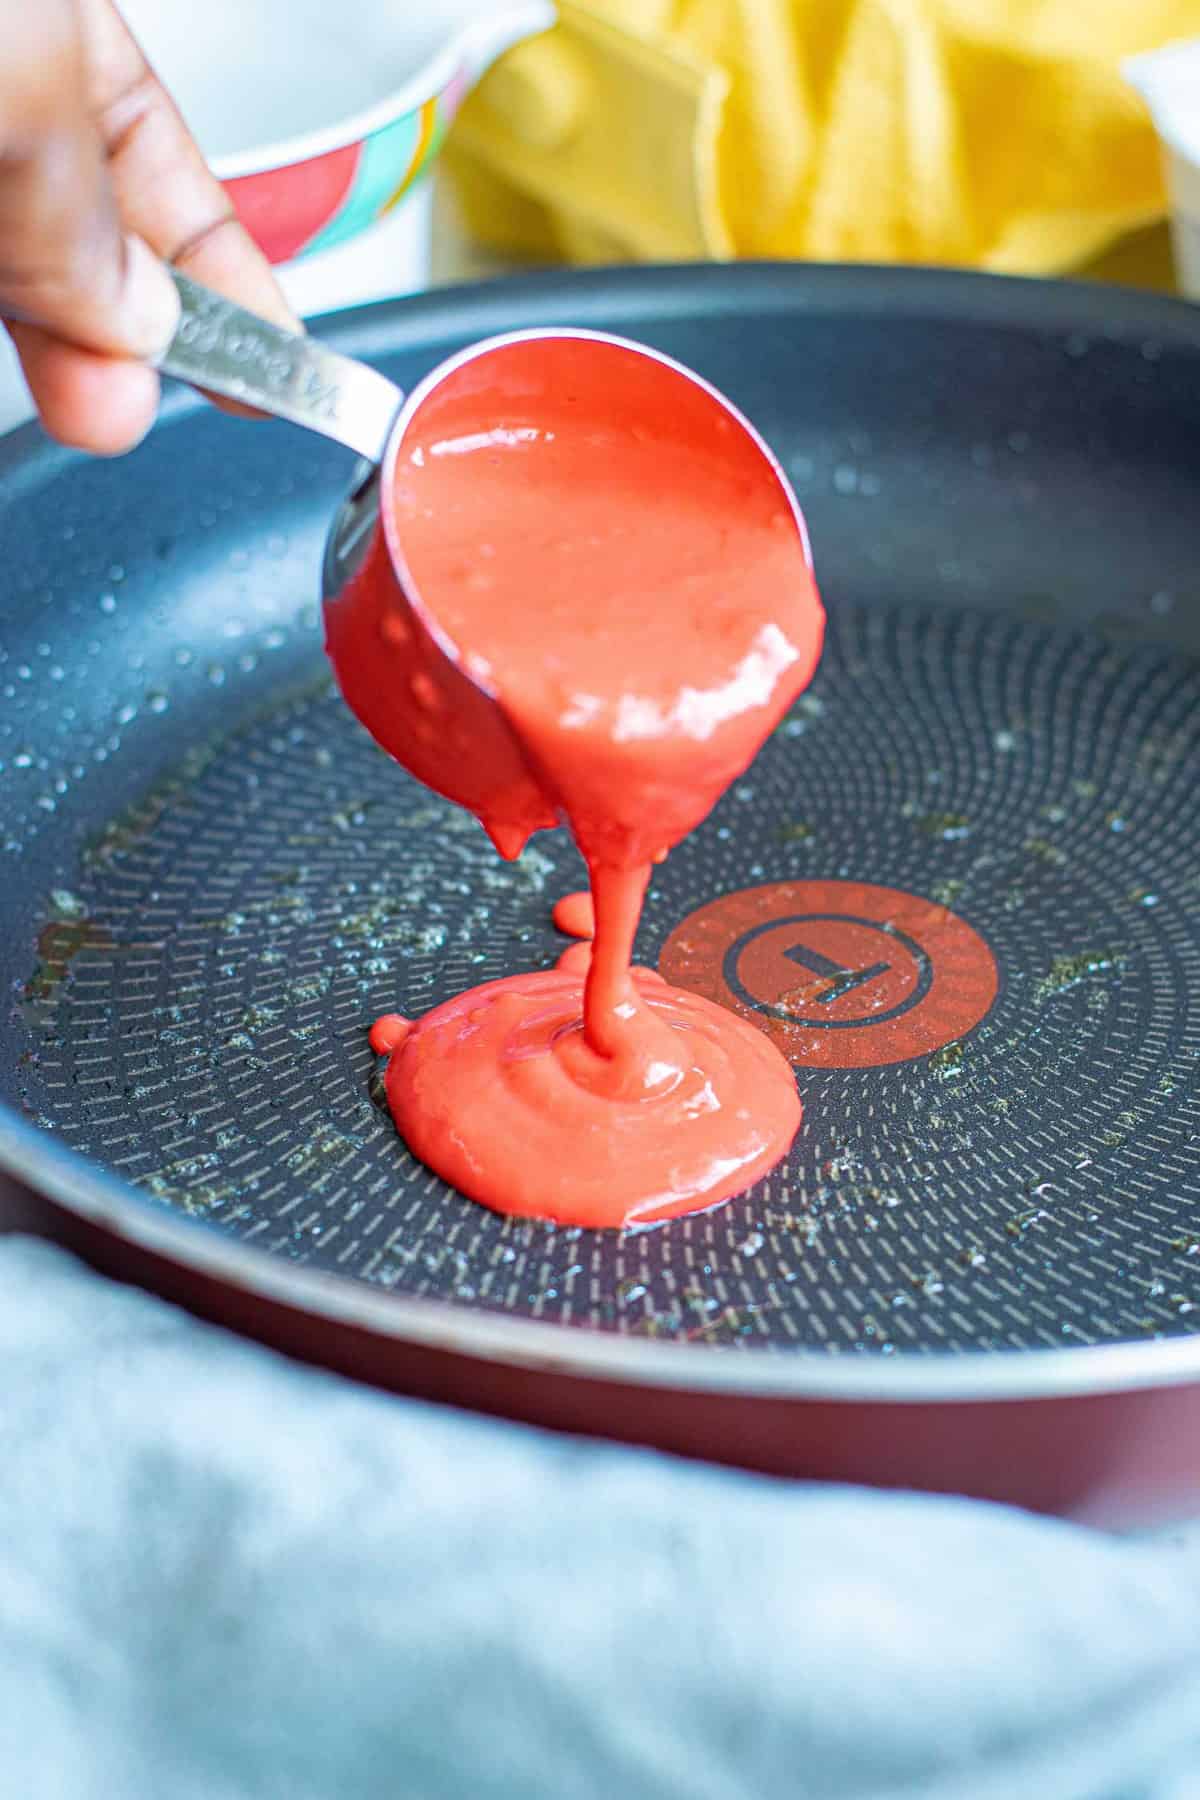
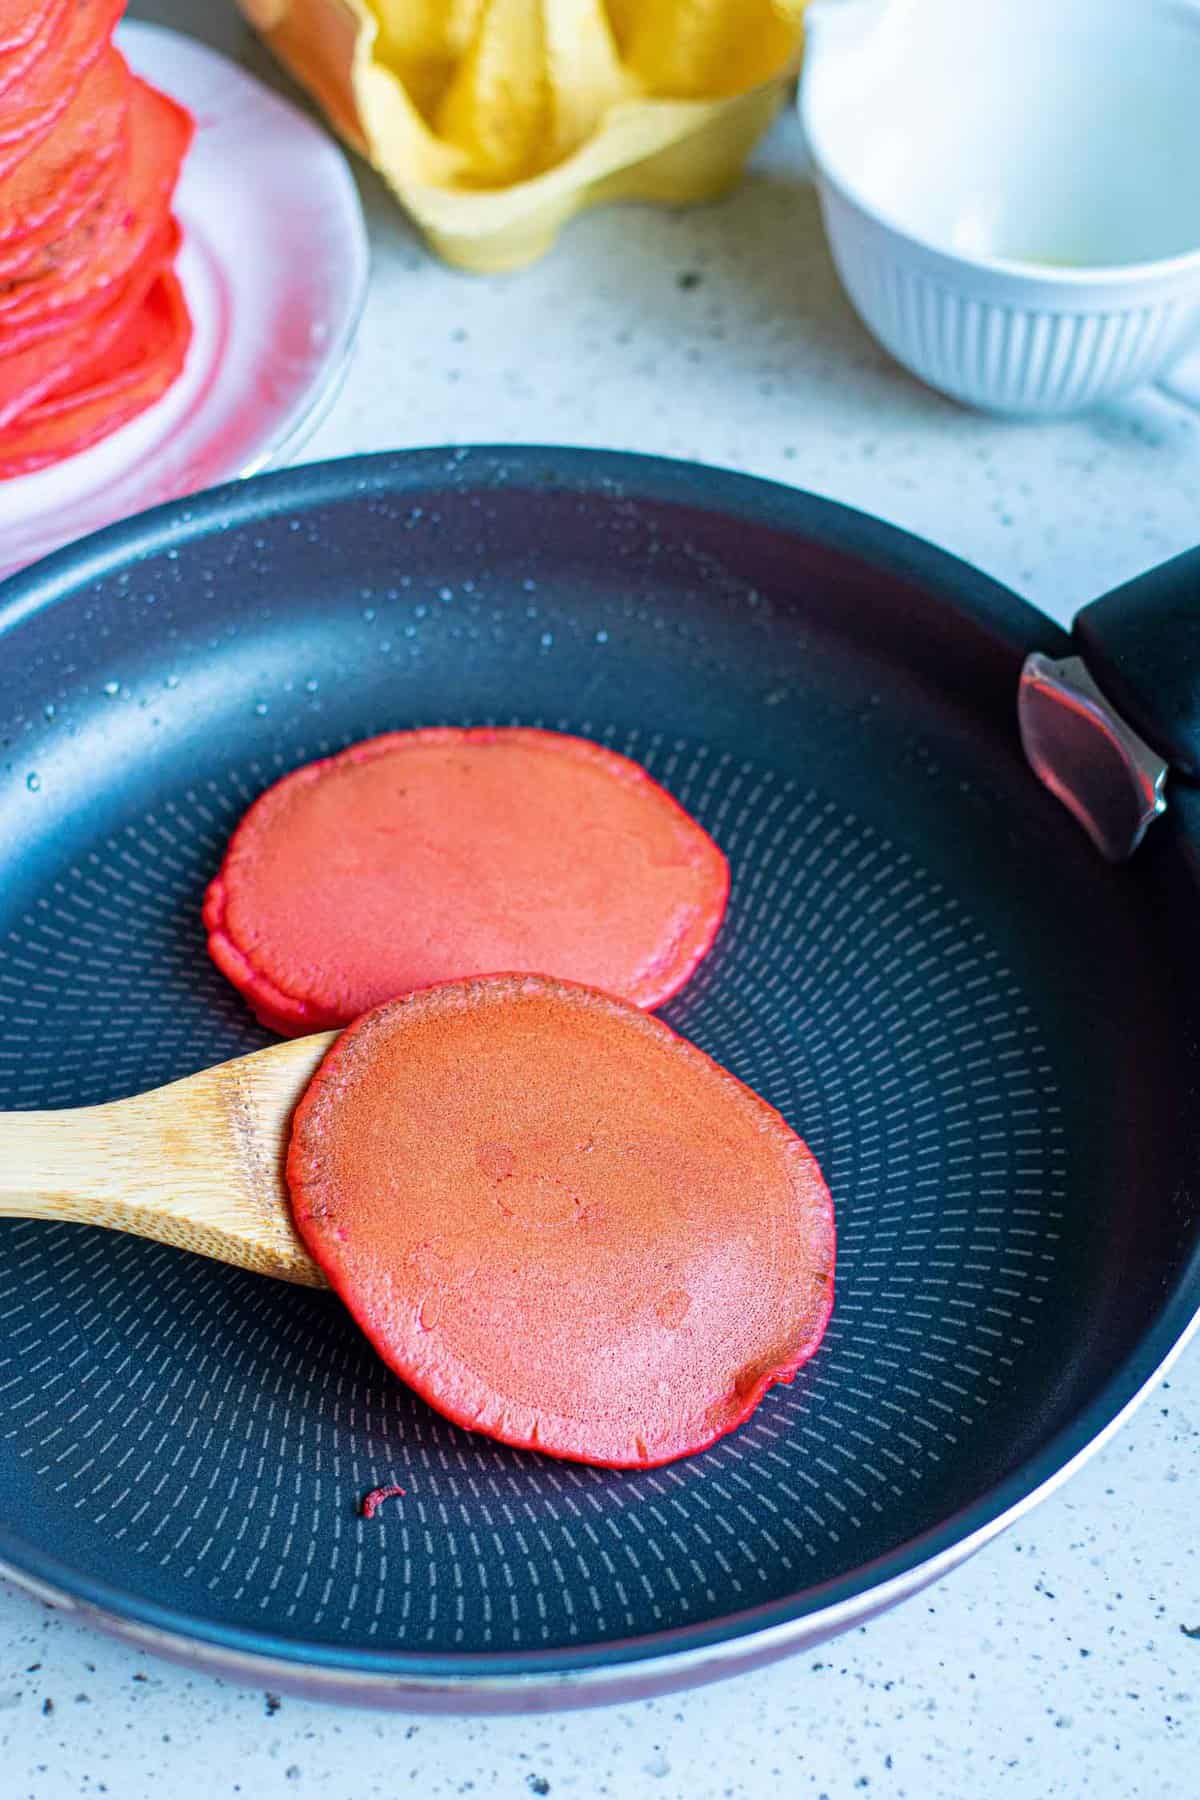
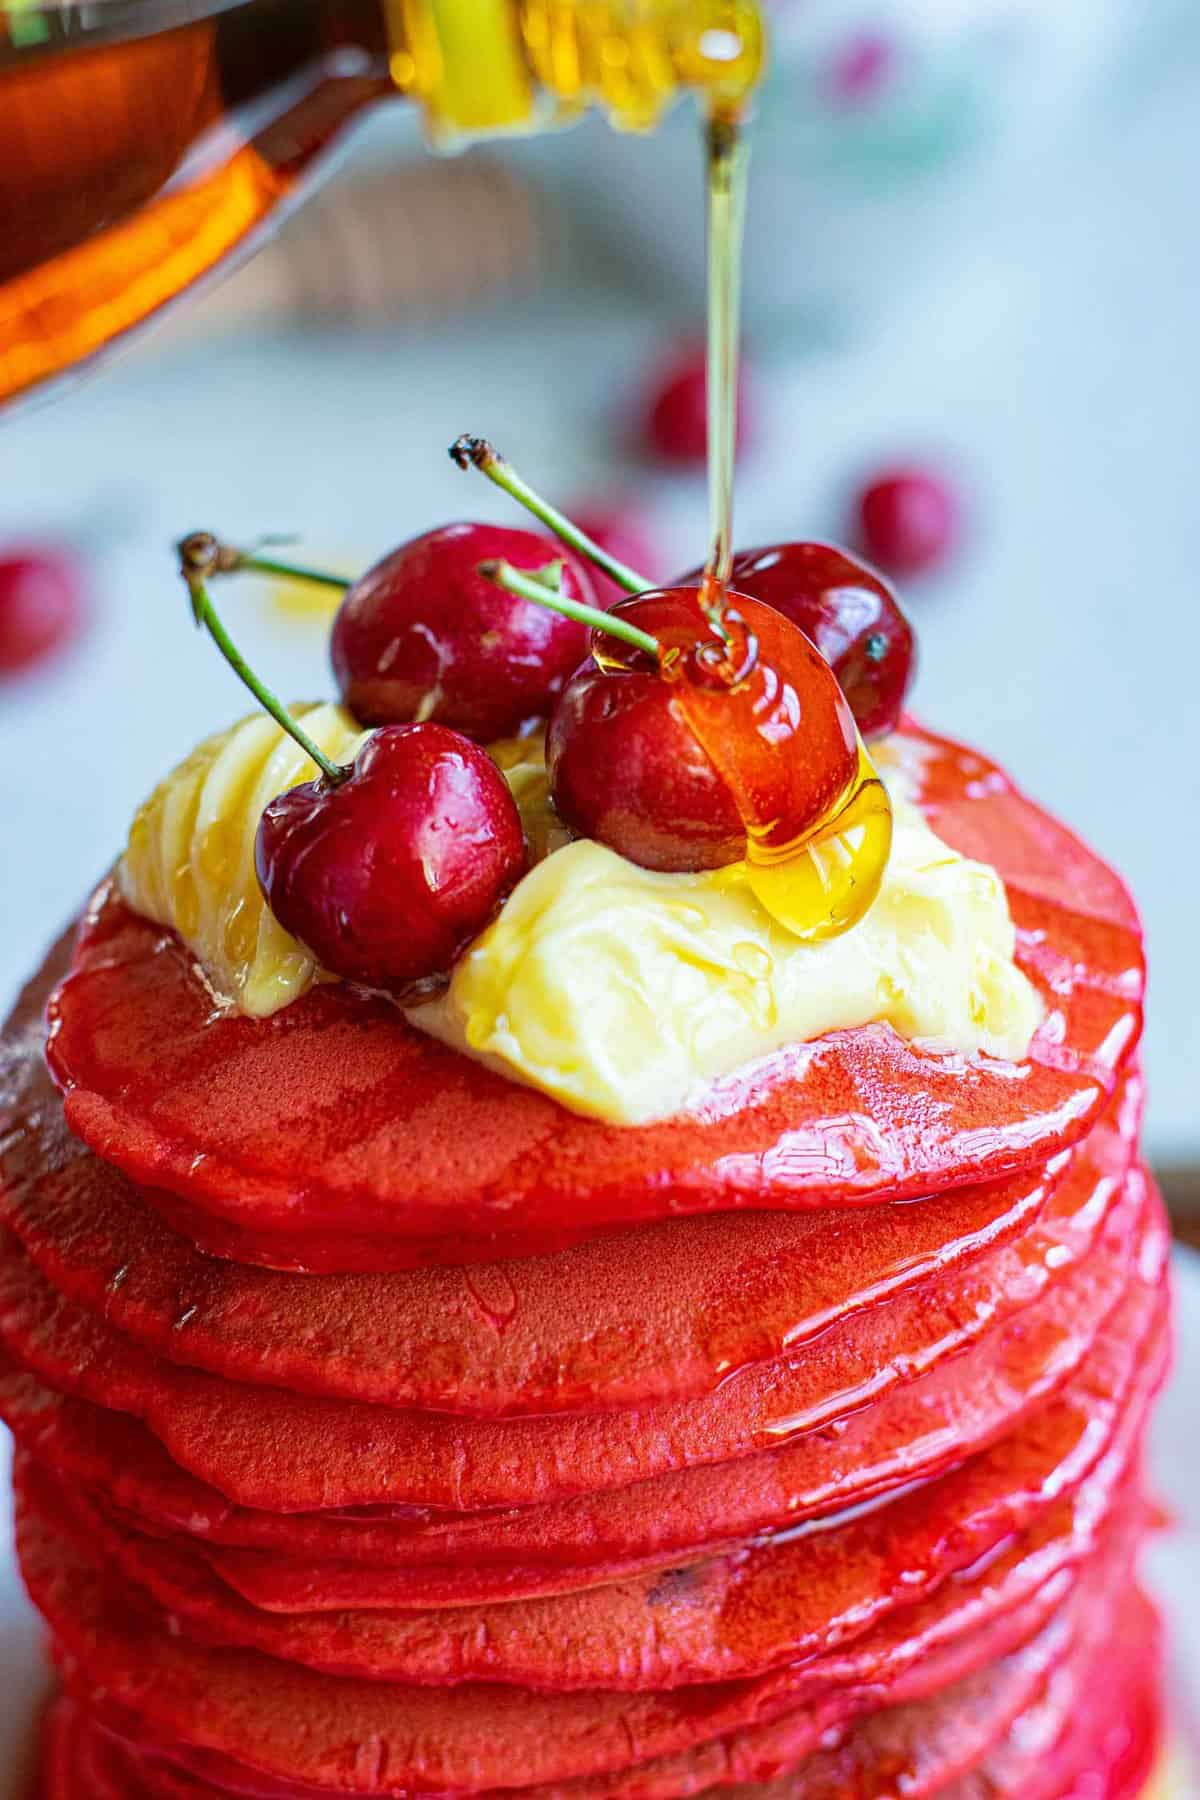
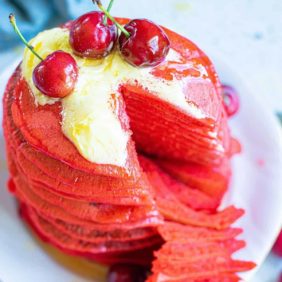
Serve with your favorite toppings. Try honey, butter, and berries to mimic the pictured pancakes.
Tips for Success
Get Great Red Color: Use high-quality food dye and cook the pancakes slowly. Preheat a good quality nonstick skillet and once it’s hot, lower the heat to medium-low or low. For red velvet, it’s better to have low, so as the red doesn’t get burned before the inside is cooked through. Grease with a bit of butter if necessary, and wipe away any excess.
Perfectly Round Pancakes: Use a cookie scoop or measuring cup to cook the pancakes evenly and get perfectly round pancakes.
Fluffy Pancakes:
- Don’t overmix batter. Overmixing will leave no room for air bubbles which will result in flat, rubbery pancakes. Making a well in the dry ingredients helps incorporate the wet ingredients and prevent over-stirring.
- Let the batter rest for about 15 minutes. This allows the wet ingredients to soak into the dry ones for better texture. Pancakes batter can even sometimes be prepared on the overnight.
- Wait for bubbles to form on the pancakes before flipping. Flip only once or the pancakes will be more likely to flatten.
- It’s fine to have some lumps in the batter but make sure to not have any more flour streaks.
- Be gentle when you flip.
How to make these pancakes your own
- Make different shapes. Use cookie-cutters to make your red velvet pancakes extra festive. Think hearts for Valentine’s Day (try these mini heart pancakes!) and bells or candy canes at Christmas.
- Create a pancake layer cake. You can make a red velvet layer “cake” by adding vanilla or cream cheese frosting between layers of cakes. If you make your pancakes small, you can have a cupcake-size stack of pancakes.
- More topping ideas: Try topping these pancakes with healthier topping choices like honey, walnuts, and cherries. So good!
Make Ahead, Storage, & Reheating
Make Ahead: This batter works well if you let it rest, even overnight! It allows the flour to soak the wet ingredients.
Storage: Store leftover pancakes in the fridge in an airtight container or bag. You can also freeze the pancakes but their texture may change slightly.
Reheating: Reheat on the stove over medium-low heat, or in the microwave or toaster.
More colorful pancakes
- Christmas Pancakes – these bright green pancakes are so much fun!
- Rainbow Pancake Cereal
Get the Recipe: Red Velvet Pancakes
Ingredients
- 2 cups all-purpose flour
- ¼ cup white sugar
- 1 tablespoon baking powder
- ¼ teaspoon baking soda
- Red food coloring see note
- ½ teaspoon salt
- 1 ¾ cups whole milk
- 3 tablespoons butter melted
- 1 teaspoon pure vanilla extract
- 1 large egg
- cherries, butter, honey for topping
Instructions
- In a large mixing bowl, combine flour, sugar, baking powder, baking soda, food dye (see note) and salt. Make a well in the center and add milk, vanilla and egg.
- Mix all well together until combined. You can use a wooden spoon or a whisk. It’s okay if there are lumps.
- Set the batter aside for 10 minutes and let it rest.
- Heat a nonstick skillet over medium-low heat. Add a bit of butter to lightly grease the pan. Pour ¼ cup batter onto the pan for 1 pancake. Cook until bubbles begin to appear on the surface and the other side is golden brown. Flip and cook on the other side until golden. Repeat until there are no batter left.
- Serve with honey, butter and berries.
Notes
- If you have a powdered food coloring, you’ll want to mix it in with the dry ingredients, but if you have a gel or liquid food dye, add it with the wet ingredients.
- Makes 12-14 pancakes
- Store 2-3 days in the fridge or 1-2 months in the freezer. Texture may change slightly if frozen and thawed.

