Homemade Cookie Cereal

Did you like Cookie Crisp cereal as a kid? Well, then you’re going to love this homemade cookie cereal! It’s even better than store-bought because it’s made with real cookies!
If you were a child of the 80s, you were probably hit with an instant feeling of nostalgia as soon as you clicked on this blog post. (Say what you will about the 1980s, but no one can argue that their cereal selection wasn’t on point.)
- Simple: Homemade cookie cereal sounds like something that would be pretty tedious to make yourself, but it’s actually a lot easier than you might expect. Making this mini chocolate chip cookie cereal is basically just a matter of making mini chocolate chip cookies. Which means if you can make chocolate chip cookies, you can make this recipe!
- Amazing Flavor: Because it’s made with real cookie dough and real chocolate, the flavor of actual chocolate chip cookies comes through in every bite. And, as much as we love that classic 80s cereal, you can’t really say that about store-bought Cookie Crisp.
- Indulgently Fun: This is a fun breakfast for kids, but you can definitely enjoy it as an adult, too! It might not be the type of meal you’ll have for breakfast every day of the week like homemade instant oatmeal packets or avocado toast with egg, but it is the kind of recipe you have to make at least once.
What you need
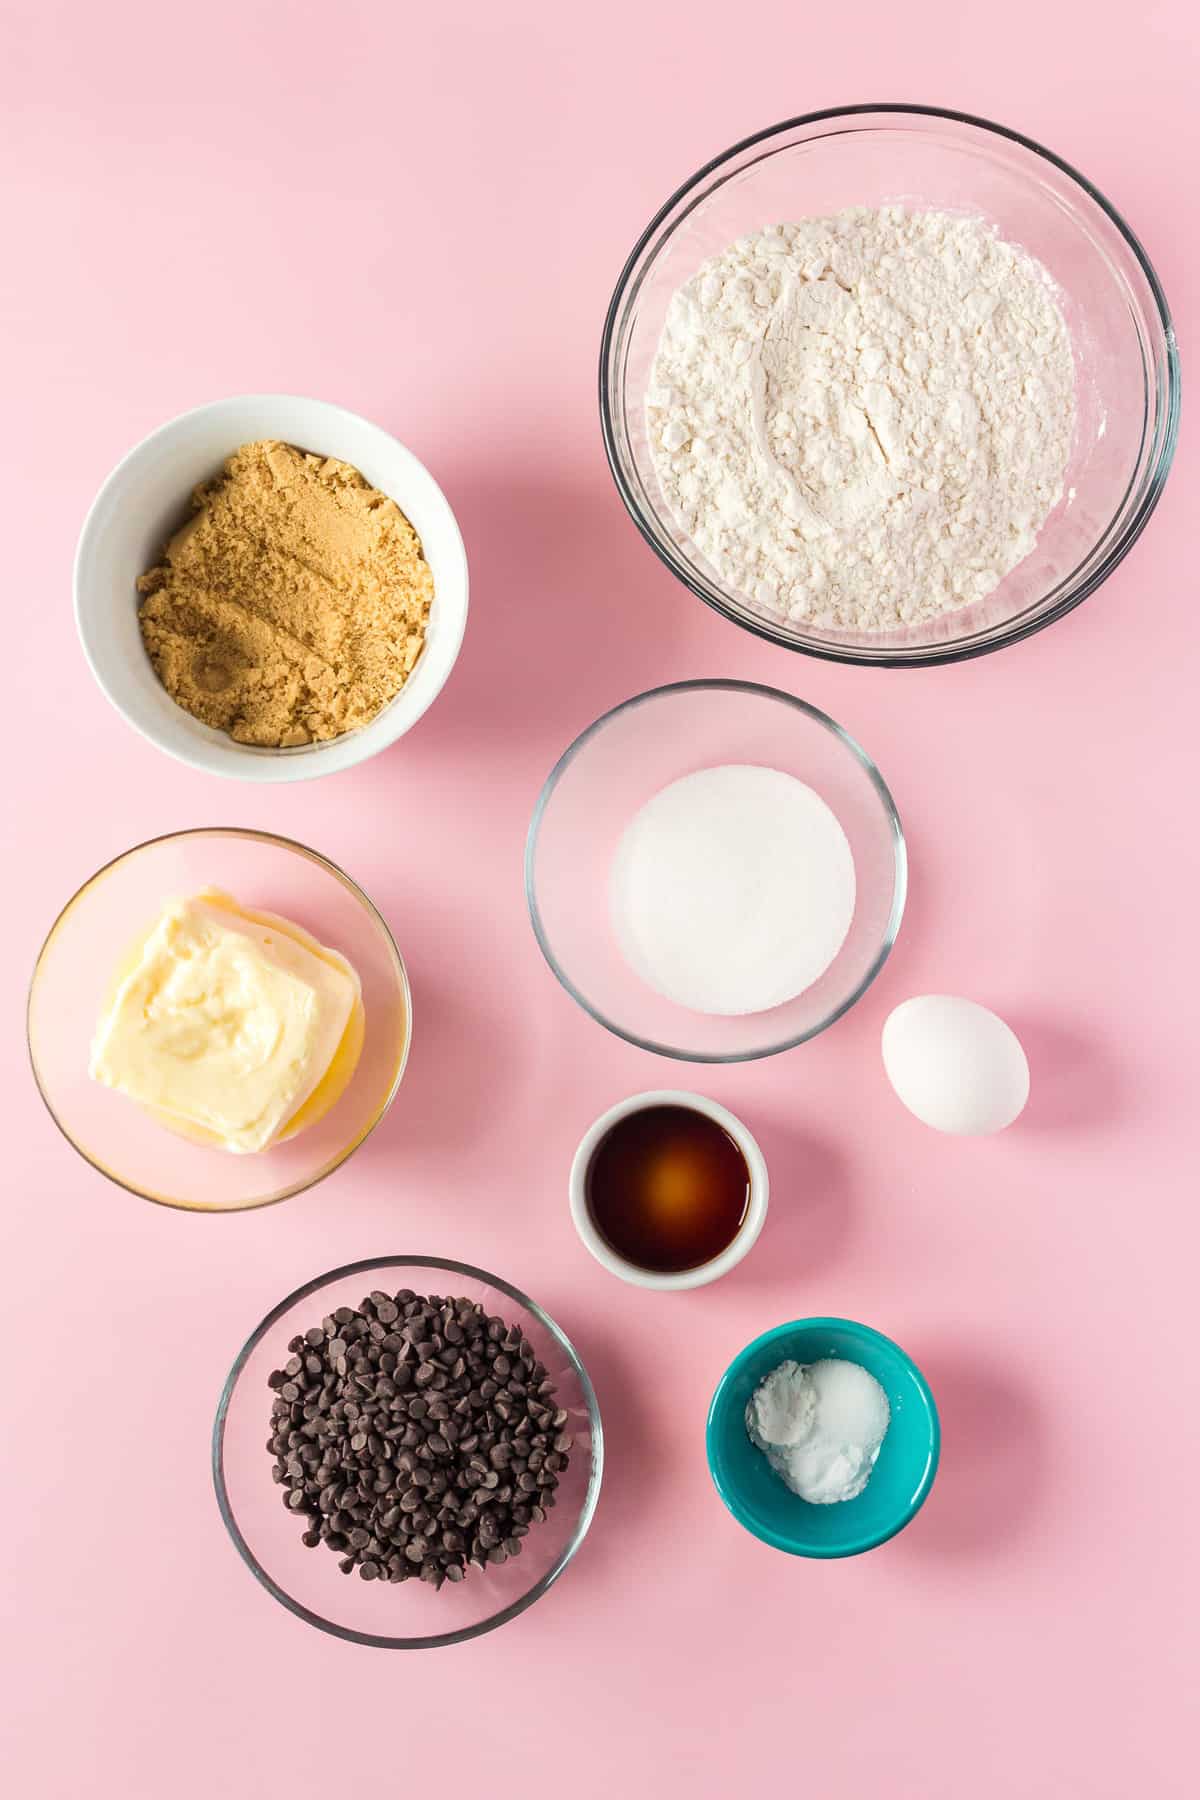
You’ll need all your standard chocolate chip cookie ingredients here!
- Unsalted butter – If you don’t have unsalted butter on hand, add a touch less salt in the recipe.
- Granulated sugar and light brown sugar – Light brown sugar has a less pronounced molasses flavor than dark brown sugar, but in a pinch, dark brown can be used.
- Vanilla extract – Make sure to use pure vanilla extract to add great flavor to these!
- Other Standard Cookie Ingredients: all-purpose flour, baking soda, cornstarch, salt, egg
- Mini chocolate chips – Mini chocolate chips are important here! Since the cookie cereal is so small, you need miniature chips so the cookies aren’t dominated by the chocolate. They also stick better and won’t fall out as easily.
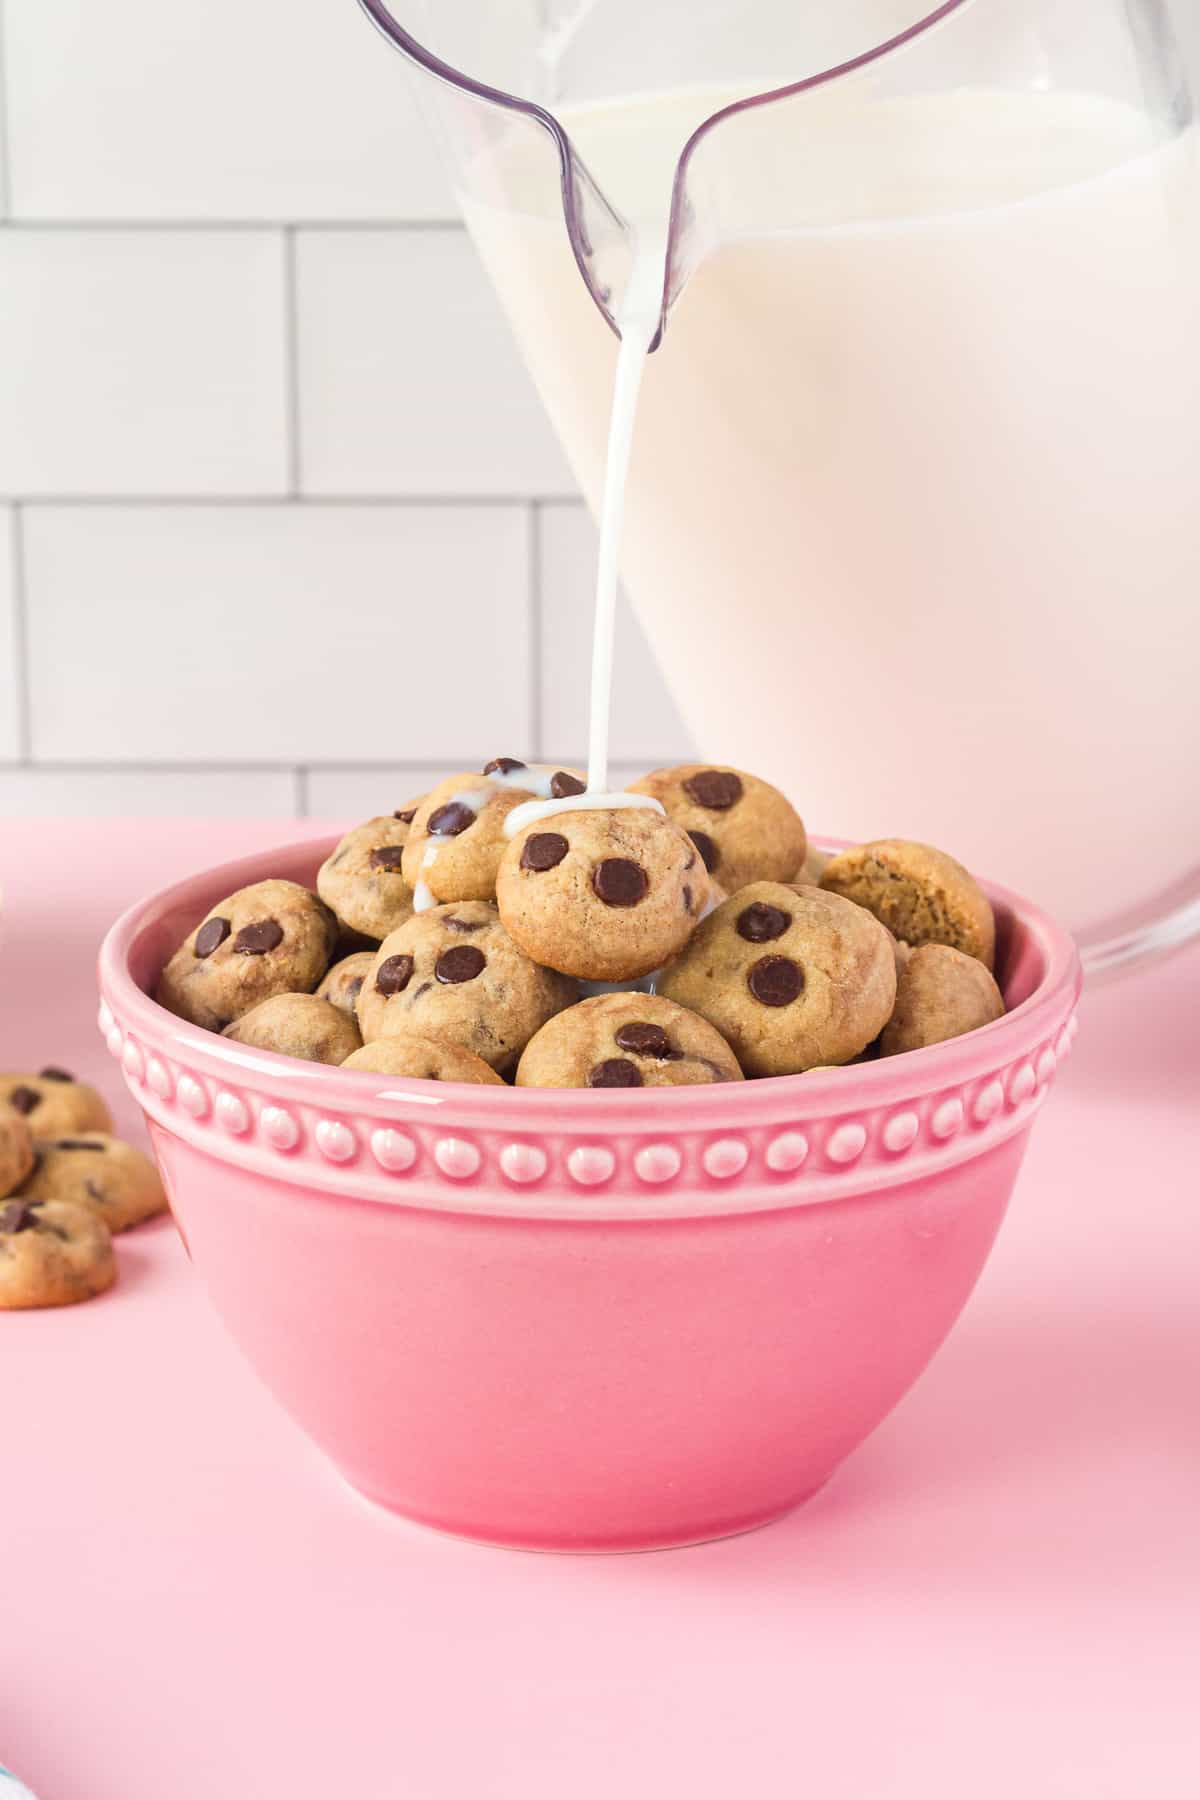
And don’t forget milk for pouring onto your cereal!
How to make it
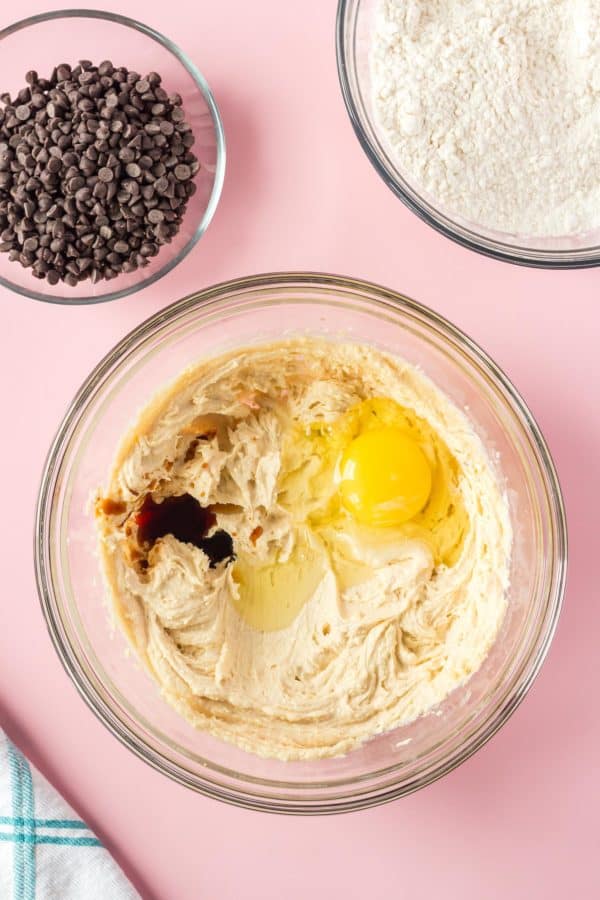
Make the batter. Cream the butter and sugars in a large mixing bowl, then beat in the vanilla and egg.
Whisk the dry ingredients in another bowl, then pour them into the wet ingredients and beat to combine.
Fold in a cup of the chocolate chips.

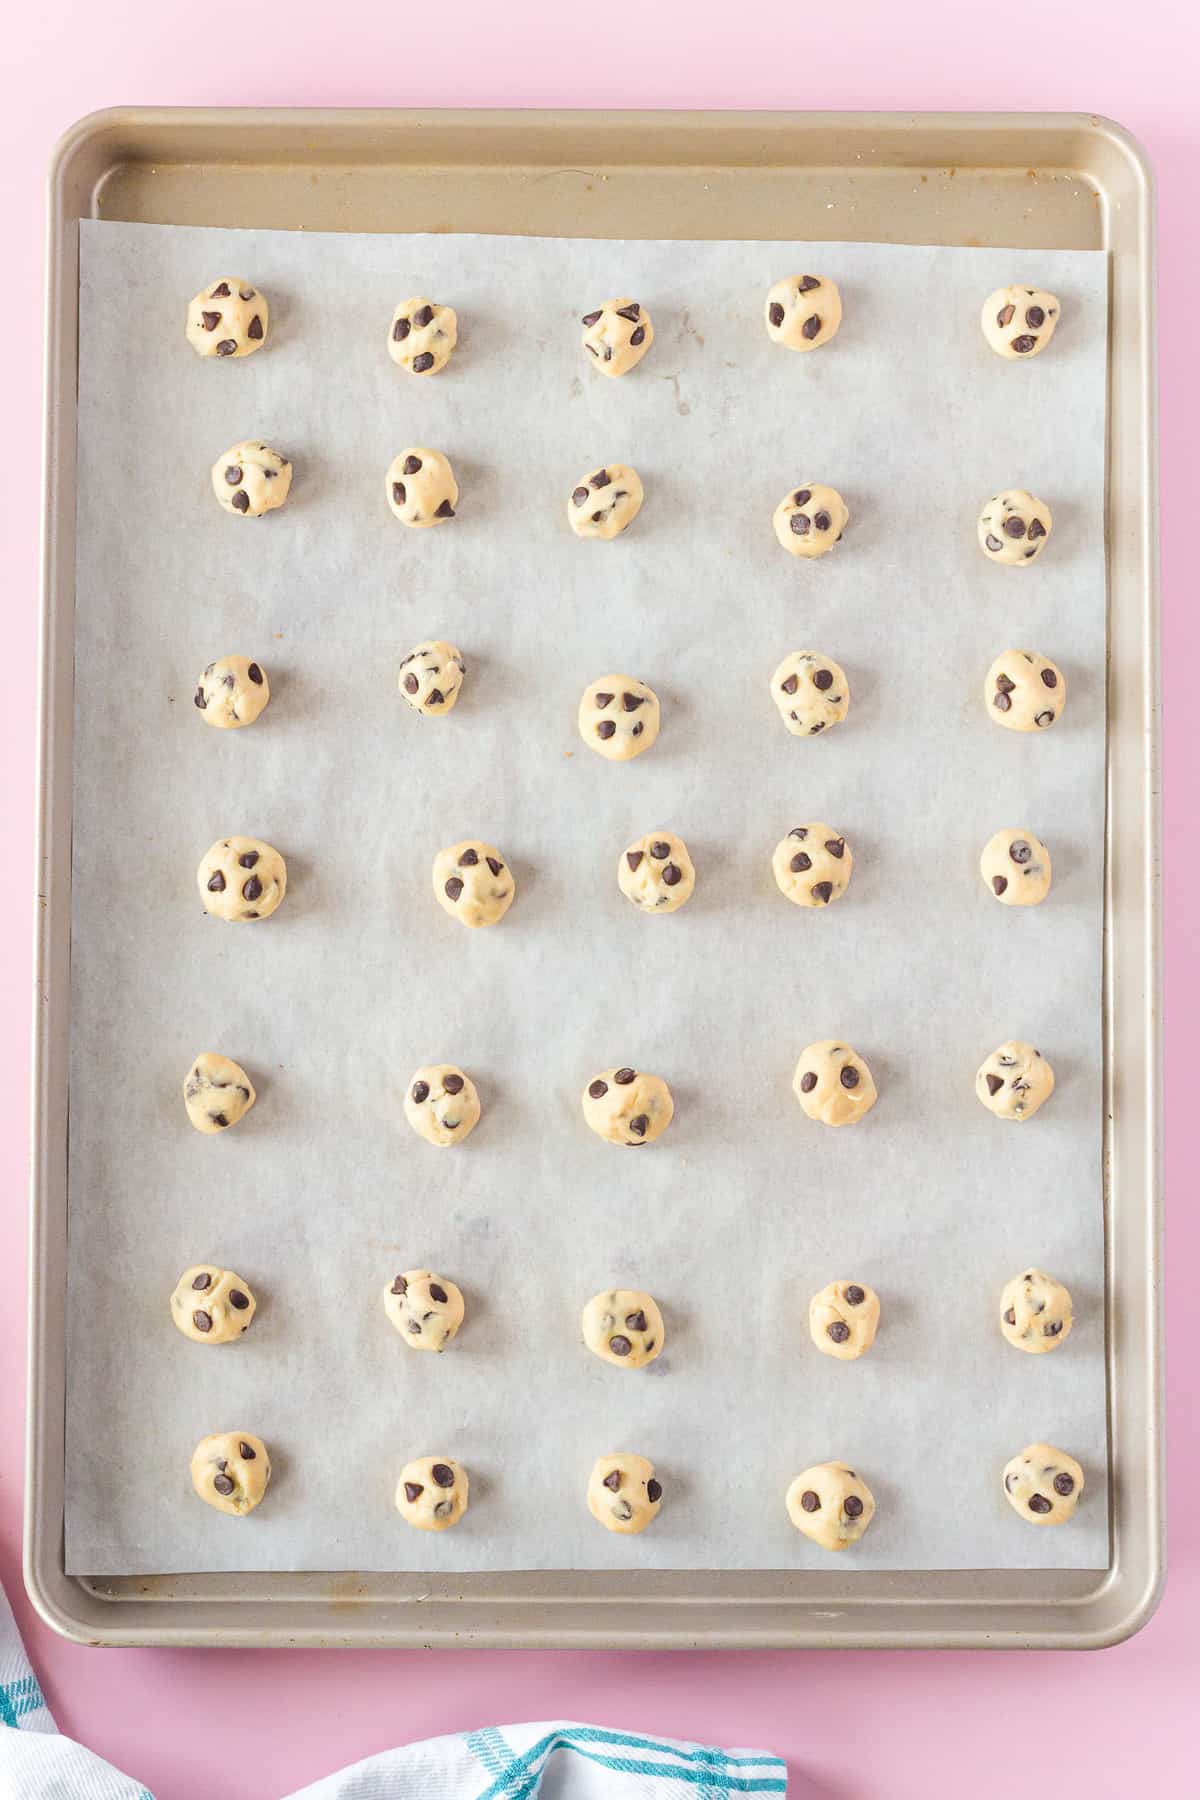
Form the cookies and chill. Line two baking sheets with parchment paper. Use a teaspoon to scoop little balls of cookie dough and place them on the prepared sheets. Press two chocolate chips into each ball of dough. Place the baking sheet in the freezer for 15 minutes; this will help keep the cookies from spreading. While the dough is chilling, preheat your oven to 350ºF.
Tip
You can place the cookies close together on a single baking sheet now since they’ll be going into the freezer, but be sure to space them out before baking.
Bake. Place the cookies about two inches apart and bake them for 9 to 10 minutes, or until the edges are slightly golden, but the tops of the cookies still look wet. Let the cookies cool on the baking sheet completely.

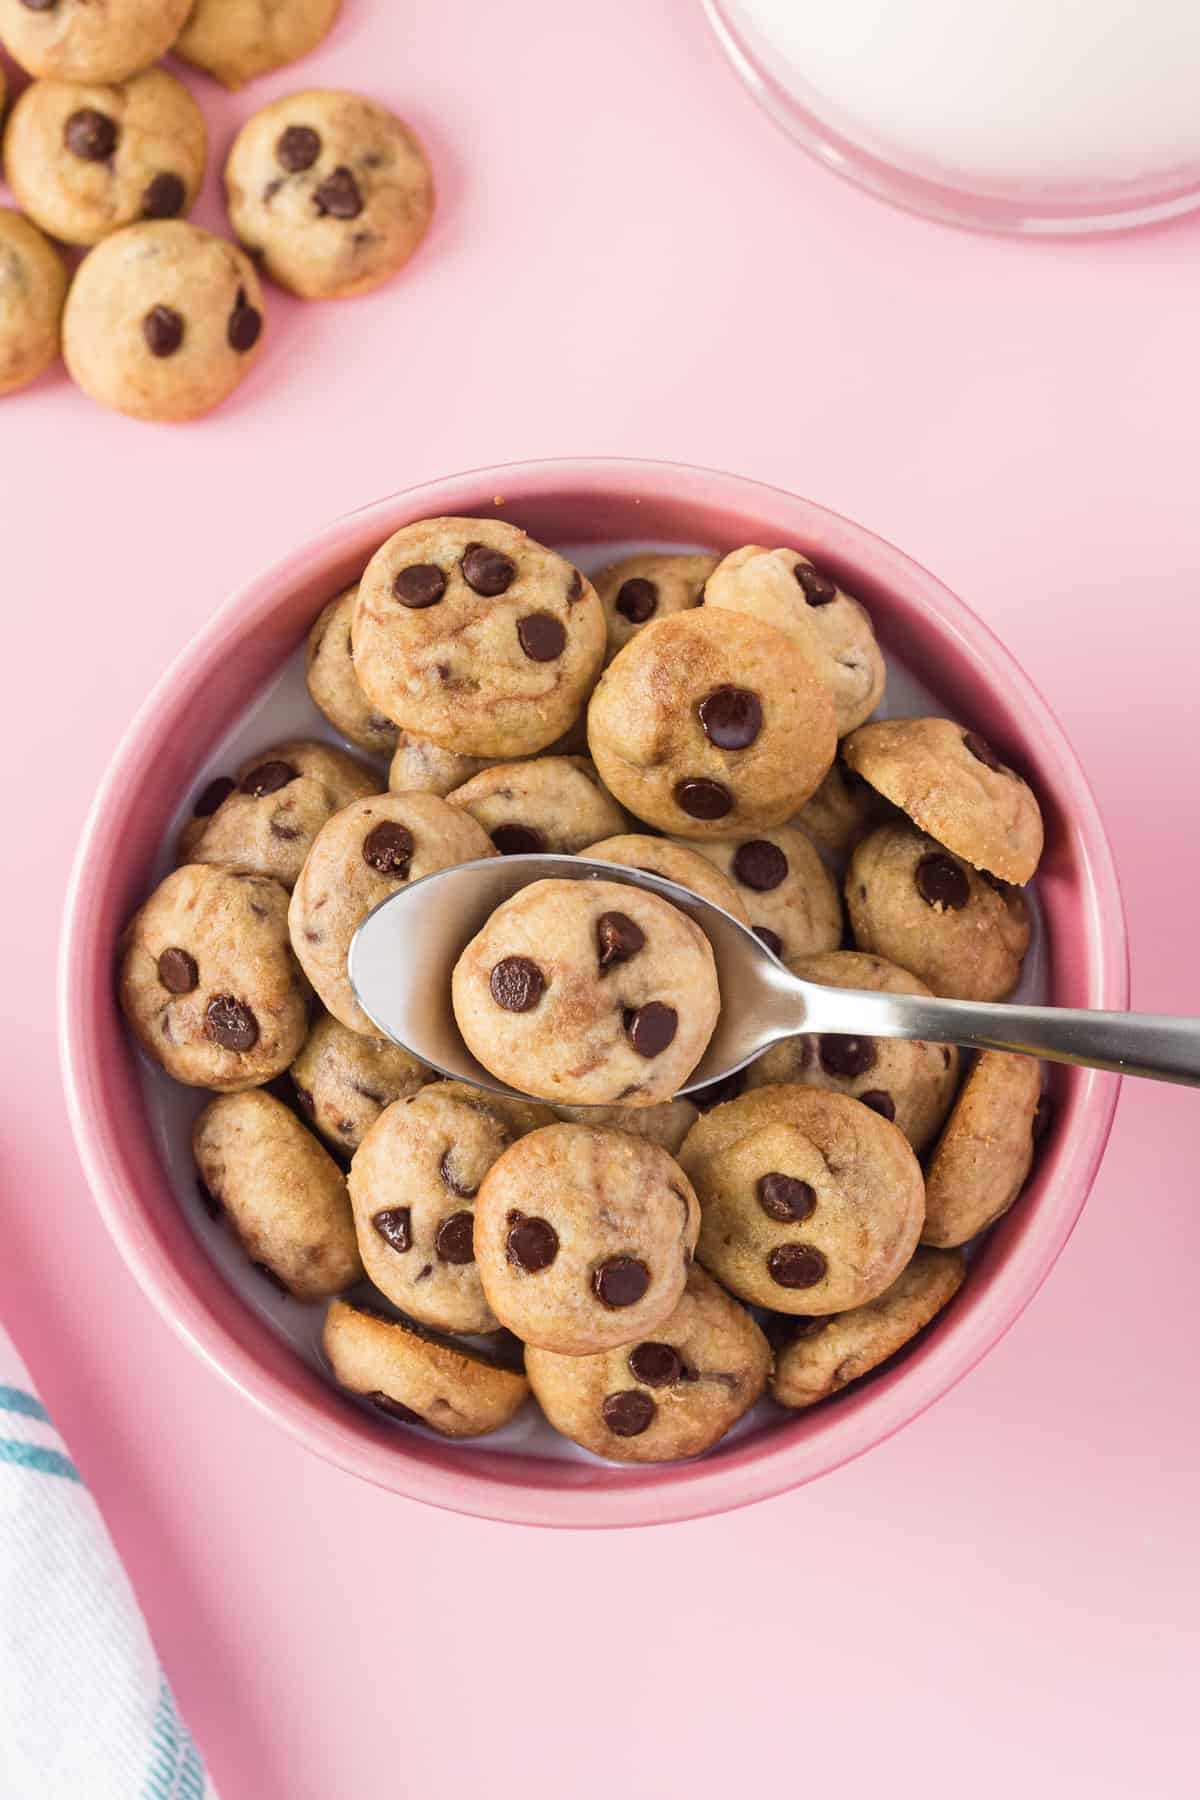
Time for the fun part!
To serve your homemade cookie cereal, place the mini cookies in a bowl, then pour milk over them. Keep in mind that because these are homemade, they will get soggy after a few minutes. You might want to add only a few cookies at a time if you want them to stay crispy, and also add less milk to your bowl than you might normally use.
These bite-sized cookies are also excellent for snacking, school lunches, and as a topping for yogurt and ice cream! (Make a batch for our build-your-own yogurt parfait board!)
Make Ahead, Storage, and Reheating
- Make Ahead: You can make the cookie dough and freeze it so you can have fresh cookie cereal whenever the craving strikes!
- To Freeze: Freeze the raw dough balls on a baking sheet for at least 30 minutes. Then, place them in an airtight container and freeze for up to 3 months. Follow the baking instructions in the recipe when you’re ready to make the cereal.
- Storage: Store your homemade cookie cereal in an airtight container for up to two weeks at room temperature. It can also be frozen for up to 3 months. If you’ve frozen the baked cereal, let it thaw at room temperature before serving (preferred method), or warm it up in the microwave for a few seconds.
More kid-friendly breakfast recipes

Get the Recipe: Homemade Cookie Cereal
Ingredients
- 1 cup unsalted butter, softened (227 grams)
- ¼ cup granulated sugar (50 grams)
- ½ cup packed light brown sugar (100 grams)
- 1 teaspoon vanilla extract
- 1 large egg
- 2 cups all-purpose flour (240 grams)
- ½ teaspoon baking soda
- ½ teaspoon cornstarch
- ½ teaspoon salt
- 1 ¼ cup mini chocolate chips, divided
Instructions
- In a large mixing bowl, beat together the butter, granulated sugar and brown sugar until creamy. This takes 2-3 minutes.
- Add in the vanilla extract and egg. Beat in until fully mixed.
- In a separate bowl, whisk together the flour, baking soda, cornstarch and salt.
- Add the dry ingredients to the wet ingredients and beat just until combined. Do not overmix.
- Stir in 1 cup of the mini chocolate chips.
- Line two baking sheets with parchment paper.
- Using a 1-teaspoon sized measuring spoon, scoop cookies. Each cookie should be about the size of 1 teaspoon. Shape cookies into round balls. You can place the cookies close together on the baking sheet to fit into the freezer but you’ll want to space them out more before baking.
- Using the remaining ¼ cup of mini chocolate chips, press two mini chocolate chips into the top of each raw cookie ball.
- Place baking sheets in freezer for 15 minutes before baking. You want to bake the cookies from a frozen state so they hold their shape better.
- Preheat oven to 350ºF.
- On a parchment paper lined baking sheet, place cookies about two inches apart. Depending on the size of your baking sheet, you should be able to fit 35-40 mini cookies on each baking sheet.
- Bake cookies for 9-10 minutes from a frozen state. Cookies are done once edges are slightly golden but top of cookies still look wet. Bottom of cookies should be light brown. Let cookies cool completely on baking sheet until cooled.
- Store cookies in a sealable container for up to two weeks at room temperature.
Notes
- Makes about 160 mini cookies. One serving is about 20 mini cookies. Nutritional information doesn’t include milk.
- These cookies will start to get soggy in the milk after a few minutes. Only pour milk on them right before you’re about to eat them. Even better, add only a few cookies at a time to the milk so they aren’t soaking in milk long. To avoid super mushy cookies, add less milk to your bowl than you’d use for regular cereal.